¶ Modify the SHP attribute structure
The attribute table is a significant part of the SHP file, where each geometry element's attributes can be seen and modified. However, the SHP file structure is one level above the attribute table: the structure defines what columns the user can see in the attribute table and what type of data can be entered into the fields. In PCS, users can modify point, polyline and polygon SHP attribute structures to match their needs.
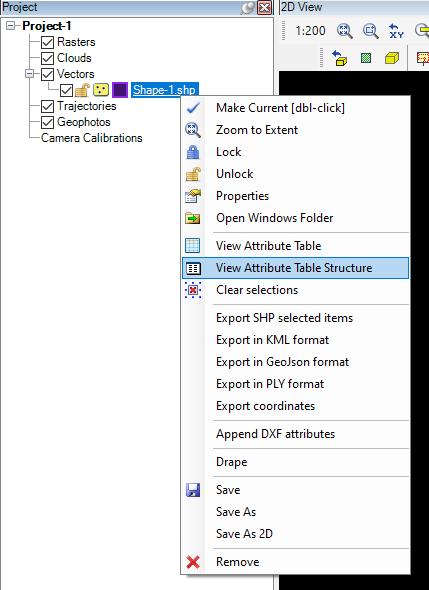
To modify an SHP's attribute structure, the user shall set the target SHP active - as only active SHP's structure can be modified, non-active shapes will not have this option in the right-click menu - right-click the SHP and select "View Attribute Table Structure".
After selecting the option, a window will open where the user can see all already available attributes. The empty SHP is created with an ID field, which is incremented, but this will not shown in the attribute table structure as it's a default field which cannot be modified inside PCS. In our example, we used an empty SHP.
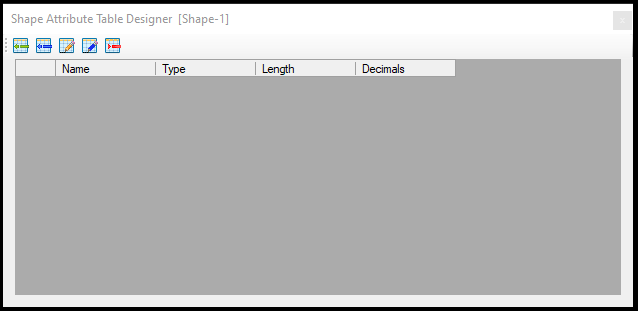
To add a new attribute, press the Add New Field icon at the top left corner of the window. It will open the settings panel where the attribute's properties can be set.
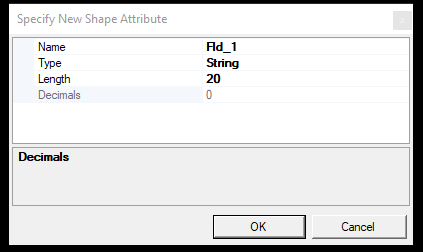
The description of the fields are the following:
- Name - The display name of the attribute, which cannot be longer than ten characters for SHP attributes
- Type - The type of the attribute. In PCS, the user can select from String (in other environments, this stands for Text), Numeric (in other environments, this stands for Integer or Double), Boolean, or Date
- Length - The maximum length of the value inside the attribute. In some cases, it might be inactive (boolean, date)
- Decimals - The maximum length of the decimals inside the attribute. This value is active only if the type is set to Numeric. If the type is Numeric, and the decimals are set to 0, the output value will be integer; if set to a bigger than 0 value, the output value will be double.
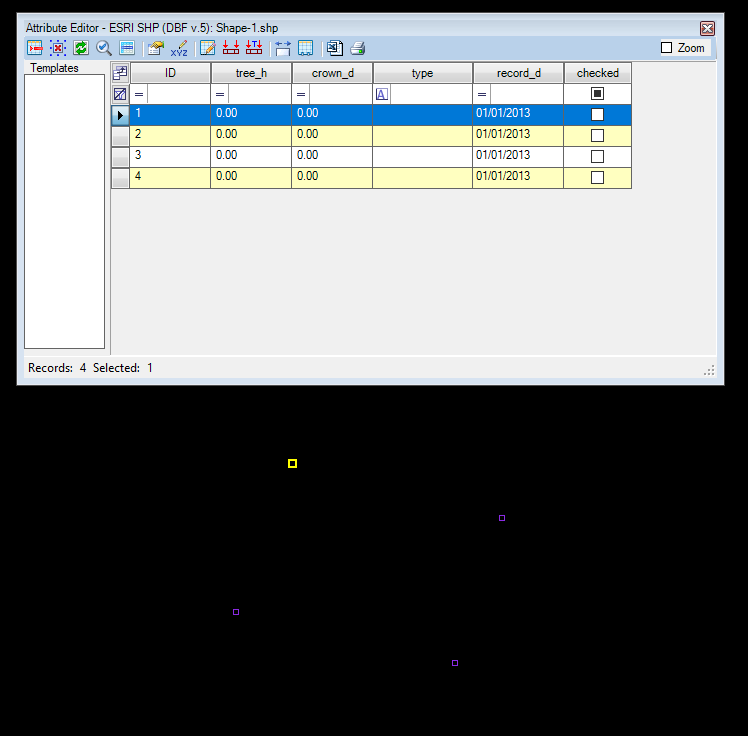
After the parameters are set, press OK, and the new attribute will appear in the table. Assign as many attributes as needed. In our example, we added dummy tree attributes.
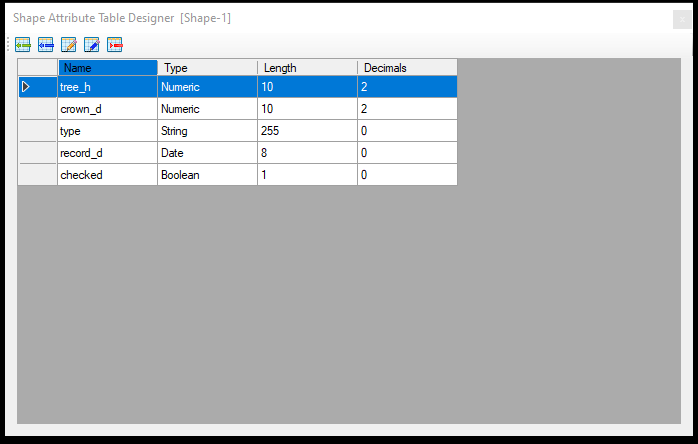
The user can add and adjust the attributes with the icons on the top bar or by right-clicking in a record. The tools are the following:
- Add New Field - Add a new field to the bottom of the list.
- Insert New Field - Add a new field above the selected line (it shall be selected, as the tree_h attribute is selected in the screenshot above).
- Modify Selected Field - Adjust the properties of the selected attribute.
- Rename Selected Field - Rename the selected attribute.
- Remove Selected Field(s) - Remove the selected attribute(s).
After the attribute structure is finalised, it will be saved inside the SHP if the file is saved. If a new element is created using this SHP file, the attribute table will represent each element with its attributes, where the values can be modified.
The attribute structure modification described in this article is valid only for SHP files, as File Geodatabases has its geodatabase designer toolset. PCS does not support other vector formats where the attributes can be modified directly.