¶ Toolbar layout management
The software has a lot of toolbars, and new toolbars can be created inside the software by the user as well. The displayed tools can be turned on and off based on the user's needs.
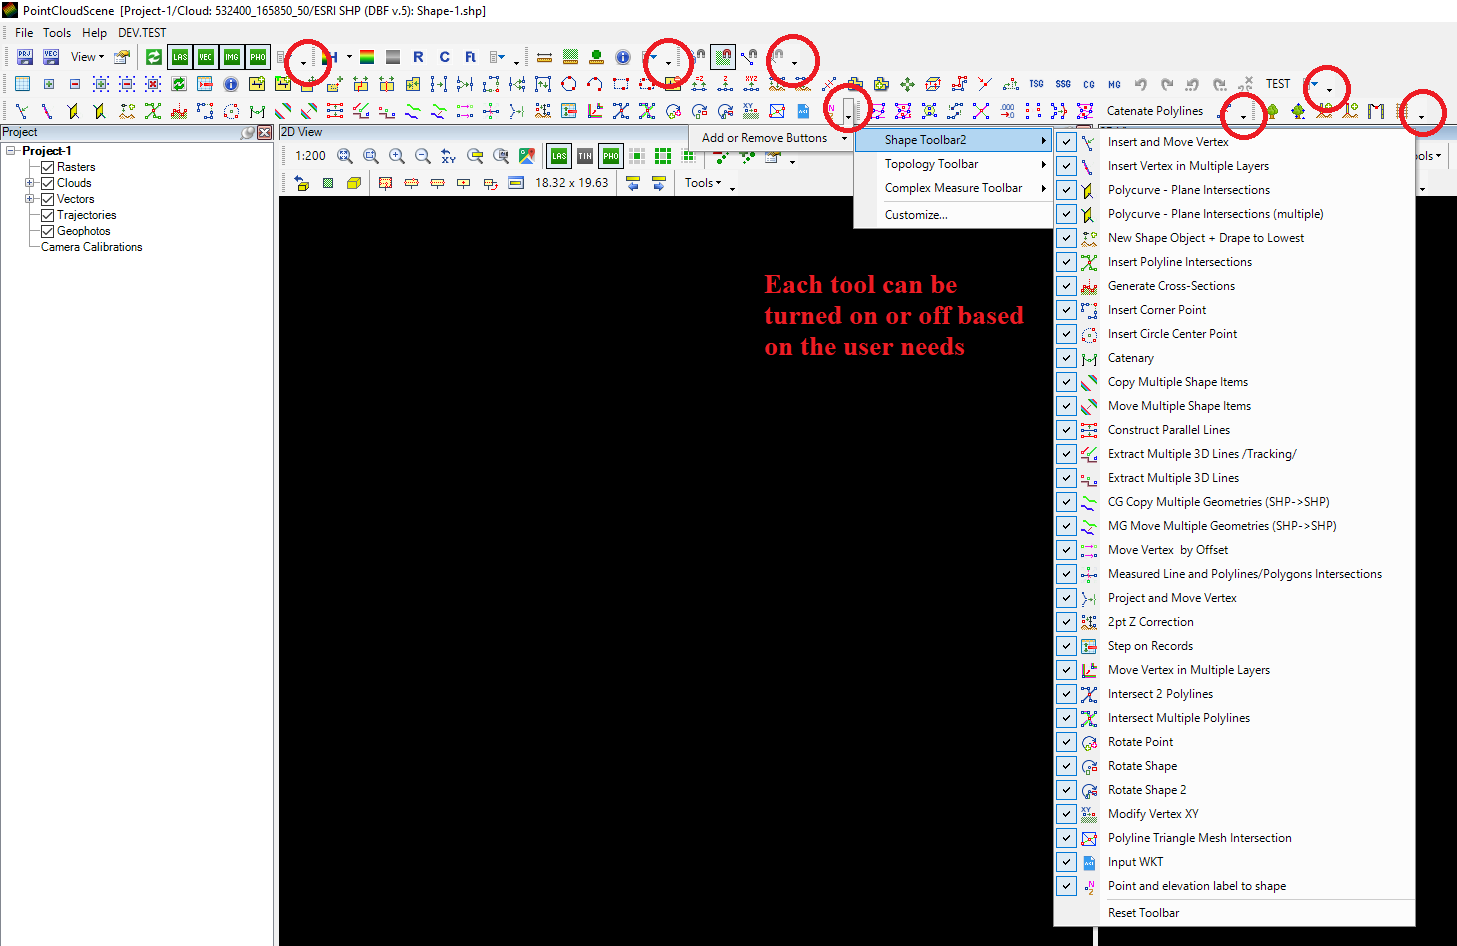
A small black triangle at the end of each toolbar, where the user can expand the Add/Remove button options. This menu shows the respective toolbars, and if the respective toolbar is developed, the tools can be turned on or off in terms of visualisation. The small black triangle is unavailable until at least one vector and cloud are loaded into the project (as the toolbar is inactive without the respective dataset).
Please note that the toolbar layout has a default setting. If the software gets an update that affects the toolbar layout, the Use Default Layout option might be required from the File menu for the changes to occur. The PCS wiki aims to describe all tools, but some might not be visible as they are turned off by default. If a tool is missing, please check if it's turned on at the toolbar layout.
If the small black triangle is selected, at the bottom of the dropdown list, there is the Customize… option, which will take the user to the toolbar management panel.

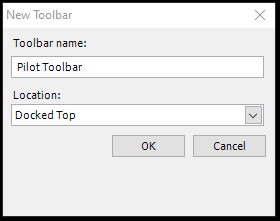
Users can create new toolbars in this management panel by pressing the New… button. Please note that the original toolbars cannot be renamed or deleted.
After creating the toolbar, the user can assign tools at the command tab by selecting the tool and dragging it to the created pilot toolbar. The toolbar can be docked and moved as other toolbars. Please note that the main, 2D and 3D view layout - just like for the hotkeys - is applicable as well for the toolbar creation: the user can assign tools which are respective for the selected design, so a main window toolbar can be assembled only from tools which are available for the main window.