¶ Raster toolbar
The raster toolbar on the 2D view contains only three tools that can be used for adjusting raster visualisation on the 2D view.
The description of the tools are the following:
- Raster On/Off - The user can turn on or off rasters (if turned off/on) in the 2D view by clicking somewhere.
- Rasters on by viewport - Only those visible in 2D view will remain turned on; all non-visible rasters will be turned off in Project Explorer.
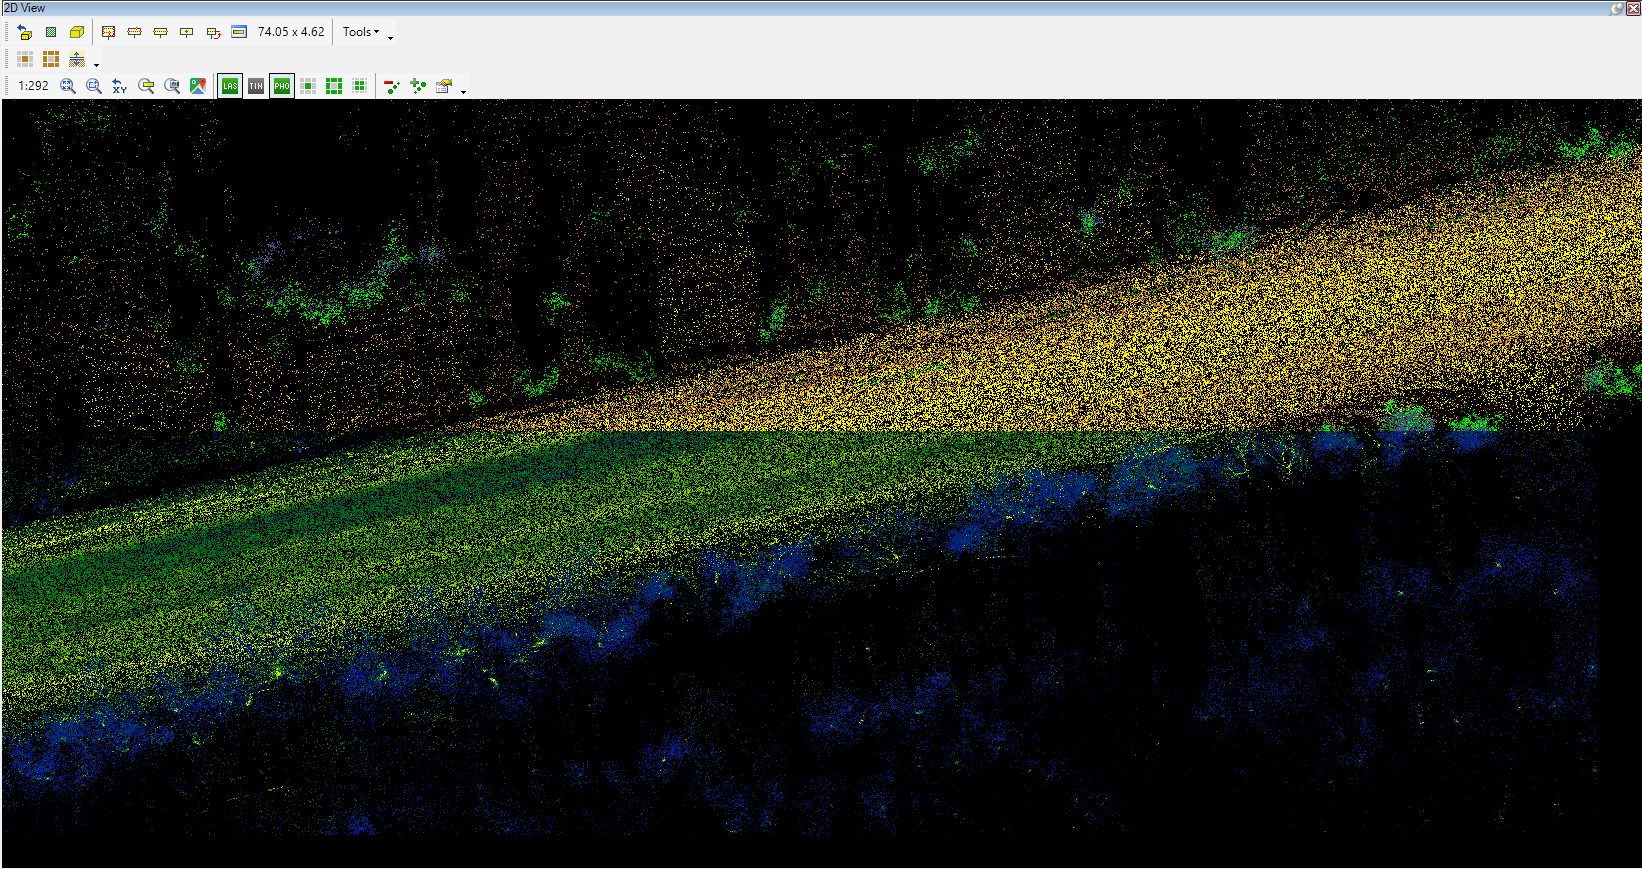
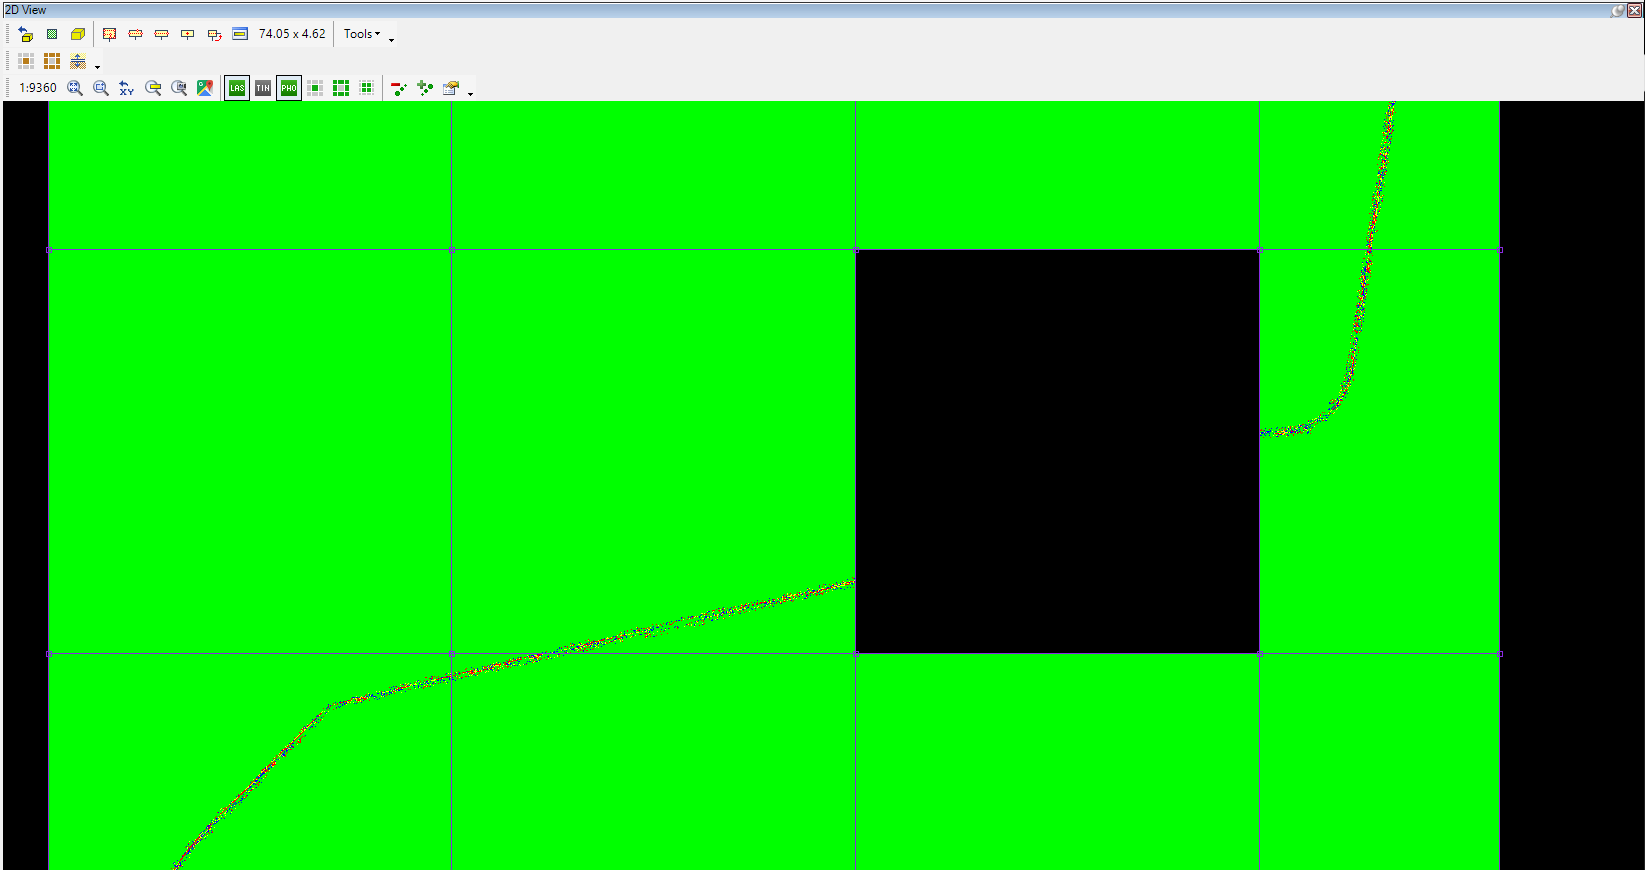
- Roll Up - This tool allows users to inspect overlaying rasters by dragging and moving the mouse cursor, and the user can check the difference between the two rasters with the mouse movement. For demonstration purposes, two geotiffs were generated from the same cloud, one with intensity and one with classification. If both rasters are opened in PCS, one will overlay the other. To see the difference between the rasters, start the Roll Up function, click on the raster at the overlapping part, and move the cursor. In that way, the difference can be seen. The tool is handy, for example, to detect changes between 2 UAV flights.