¶ Installation guide
Congratulations! You made a significant step toward effective point cloud extraction :)
Let me be your guide through the installation steps. If you are stuck, please check the FAQ page or contact software support!
0. Obtain the hardware key or the network key access to use the software.
- Download the installer from our download page (from 2026 installer versions, prerequisites are not required to be downloaded separately). You may also obtain the installers from our FTP drive or via email with a download link.
- Install the HASP driver. This is the hardware key driver. After the installation, a red light shall appear in the hardware key. You can check localhost:1947 in your browser if you see the hardware key under the keys option. If the page does not load at all, it means that the HASP driver was unsuccessful.
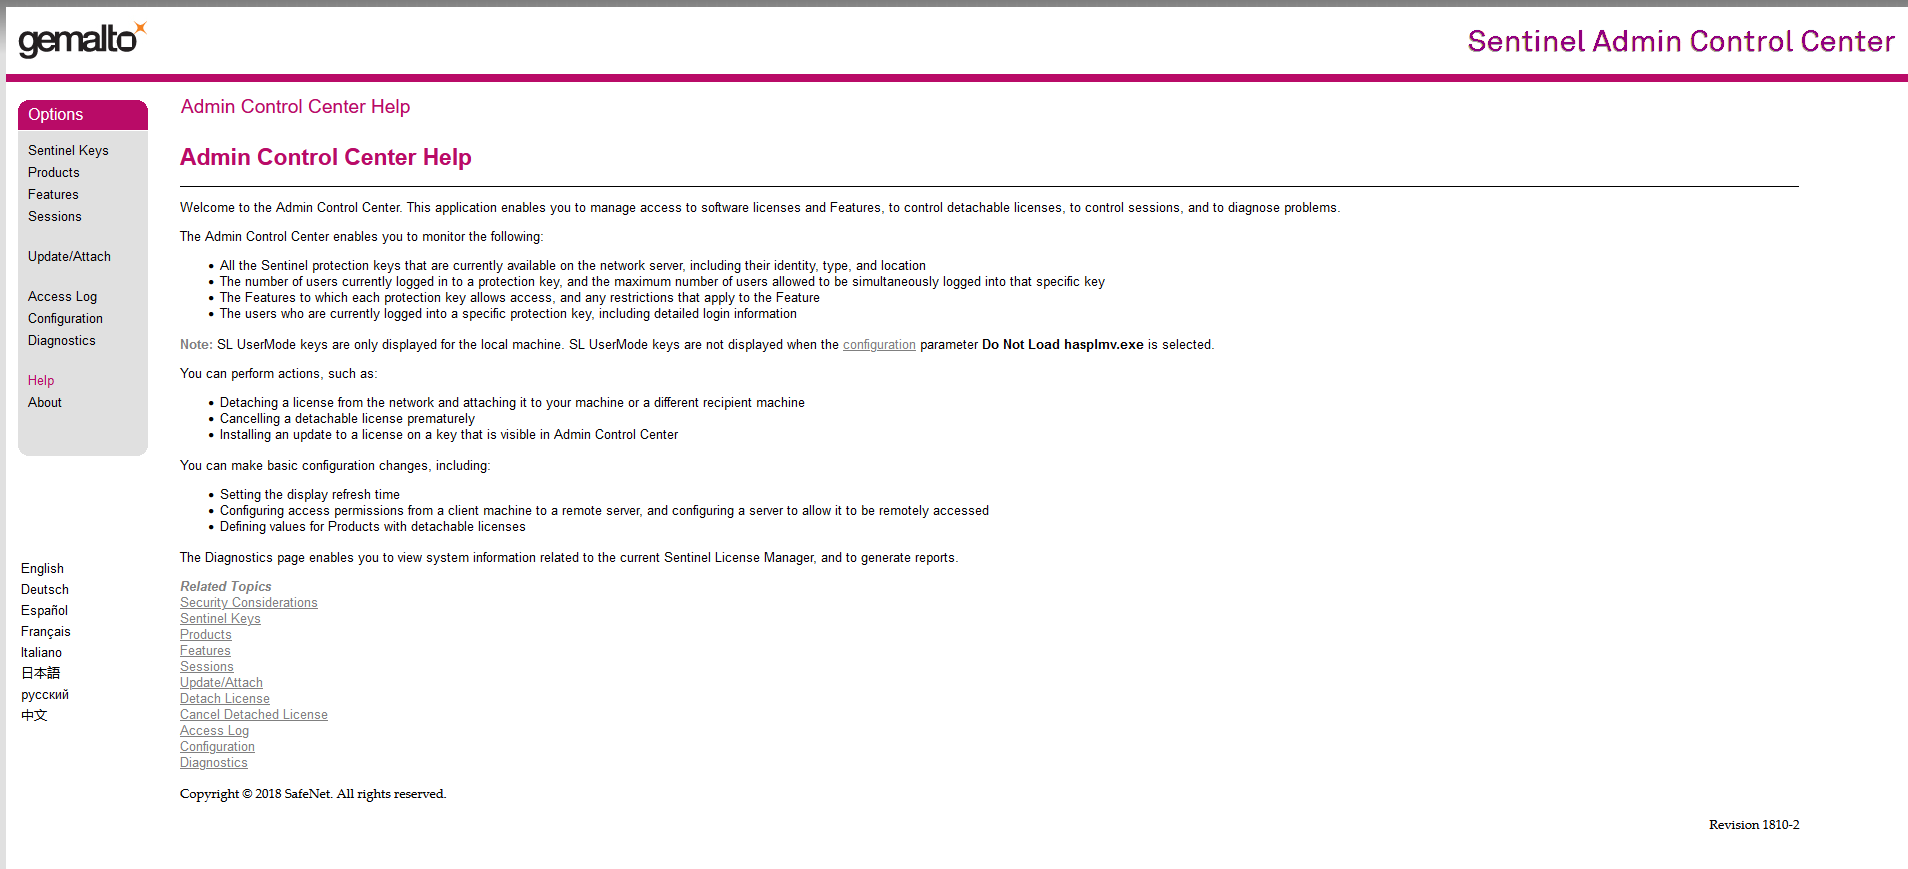
Note: The color scheme of this site can differ due to different driver versions, but the main functionality and structure are the same.
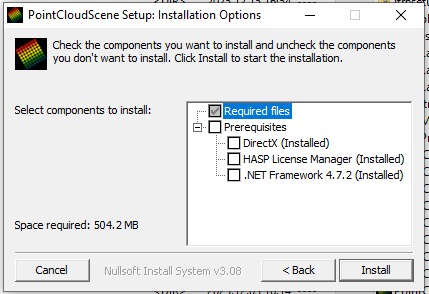
3. Install the software with the installer. Select the prerequisites that are not yet installed in the system.
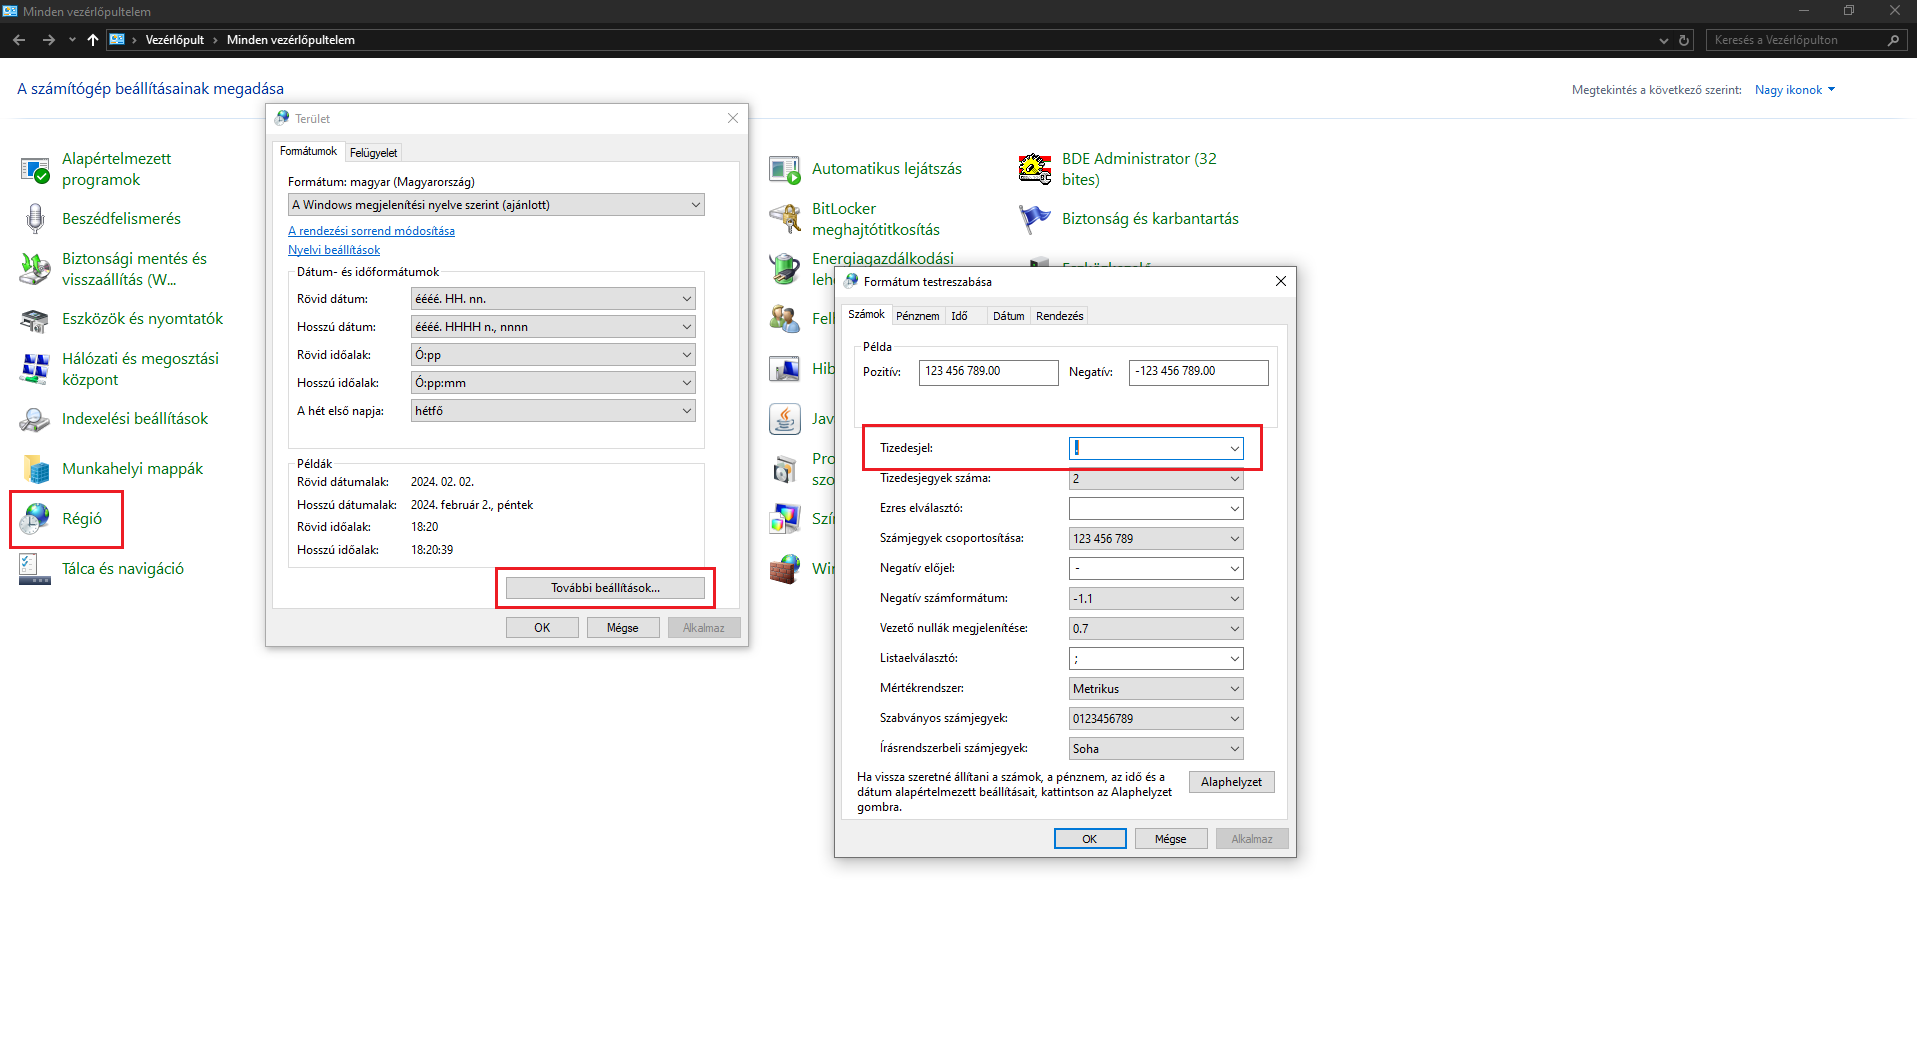
4. After the installation is done, please navigate to the Control Panel/Region/Special Settings, and change the decimal separator to dot. Please note that this setting change might affect other software as well, like Excel.
5. Start the software, and after the startup, select File/New Empty Project. When the software loads the empty project, it is ready to be used.

6. If you receive an update for the software, run the installer; it will automatically update your version and you do not need to remove the previous version.
¶ The first use of the software
After you perform the installation and start a new empty project, it is recommended to perform a few settings which will make your life easier in the future.
- Arrange the toolbars to have more drawing space. You can drag and move each toolbar by clicking and holding the left end part of the toolbar, undocking it and dock it to another part of the window. A toolbar can be docked only to its own window (you cannot dock a 2D view toolbar to a 3D view). If you don't need - for example - the classification toolbar, right-click to the empty space in the window, and in the pop-up menu, uncheck the not required toolbars.
2. Select the File/Las settings menu, and set the default LAS settings which fit you the most.

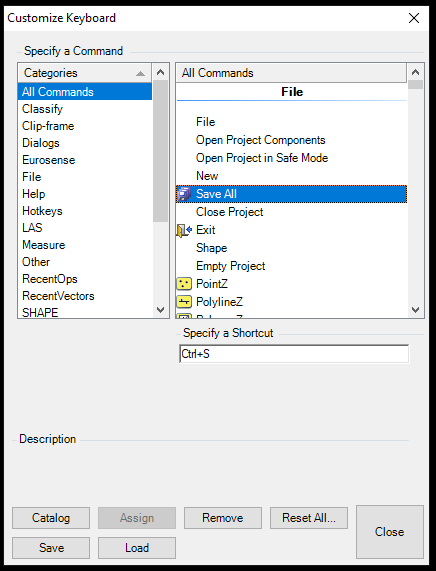
3. Navigate to the keyboard panel and set the hotkeys. If you already have a setting for the hotkeys, you can load it from the XML file you have/received.
After you set all the settings, you are ready to use the software! Check the Basic Extraction Guide for the first steps!